Monster Hunter Wilds, Capcom's latest and fastest-selling entry in the beloved franchise, continues to captivate a massive audience of both veterans and newcomers. The game's rich arsenal of weapons and gear can be overwhelming, especially for those wielding the complex yet powerful Charge Blade. Navigating the vast selection of armor sets to find the perfect complement for this hybrid weapon is crucial for success. This guide details the most effective armor builds for Charge Blade users, from the early low-rank hunts all the way through the challenging endgame of 2026.
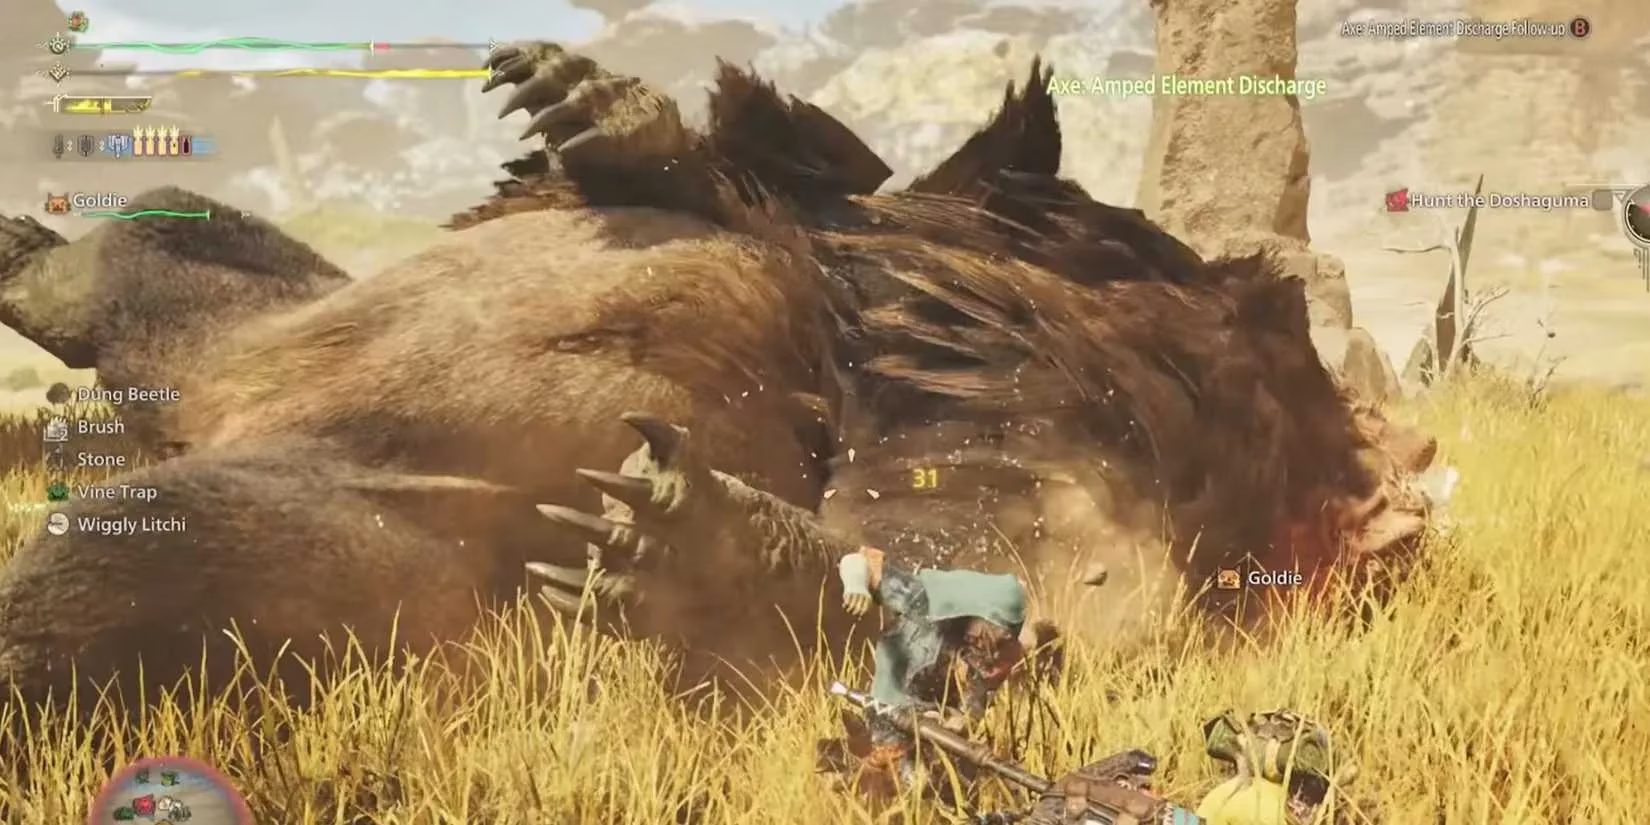
For hunters just beginning their journey in Low Rank (1-3), the Doshaguma Armor Set provides a fantastic foundation. This set synergizes exceptionally well with the Charge Blade's core mechanics. Its Powerhouse set bonus grants a substantial +25 temporary attack boost after successfully executing a power clash or an offset attack. While offset attacks are advanced, Charge Blade users can reliably trigger power clashes through well-timed shield blocks, making this damage bonus readily accessible. Beyond offense, the set offers three ranks in Free Meal, a quality-of-life skill that gives a significant chance to not consume items like potions or buffs. This helps new players conserve valuable resources as they learn monster patterns and build their inventory. Although this set will eventually be outgrown, it serves as an excellent and reliable starter kit for mastering the Charge Blade's flow.
As players progress, another potent early-game option emerges by combining pieces from Rey Dau and Balahara. The core of this build utilizes the Rey Sandhelm, Mail, and Greaves to activate the Thunderous Roar set bonus. This bonus synergizes perfectly with the Latent Power skill found on the helm, extending its duration. Latent Power boosts affinity and reduces stamina depletion after being in combat for two minutes or after taking 150 damage. For mobility, incorporating the Balahara Vambraces and Coil provides ranks in Evade Extender, greatly enhancing the dodging capability crucial for the slower, more committed attacks of Axe mode. Hunters who prefer maximizing their offensive uptime over evasion can swap the vambraces for the Rey Sandbraces to gain an additional rank in Latent Power and further extend the Thunderous Roar bonus.
The transition into mid-game hunts calls for a more aggressive and self-sustaining approach. A powerful hybrid set combines the strengths of G. Ebony Odogaron and G. Arkveld. By wearing two pieces from each set—such as the G. Ebony Helm and Braces alongside the G. Arkveld Mail and Coil—hunters activate two valuable set bonuses: Burst Boost and Decimator. Burst Boost enhances the Burst skill, which increases raw and elemental damage on consecutive hits, perfectly complementing the Charge Blade's multi-hit Savage Axe mode. Decimator provides healing whenever a monster's wound is broken, offering crucial sustain during longer fights. Topping off this build with G. Rathalos Greaves adds a rank of Weakness Exploit, significantly increasing damage against wounded parts. This setup creates a rewarding loop of dealing damage, breaking parts, and healing, all while encouraging mastery of the weapon's most damaging modes.
Upon reaching High Rank, hunters can specialize further. One potent early High Rank strategy involves forgoing set bonuses to stack the conditional damage skill Foray. A sample build includes the Barina Headgear (beta), Rathian Mail (alpha), Kut-Ku Vambraces (alpha), Rathian Coil (beta), and Conga Greaves (beta). This configuration provides four ranks of Foray, which dramatically increases damage and affinity against monsters afflicted by Poison or Paralysis. This build demands the use of a status-inflicting Charge Blade. Poison offers consistent damage over time to keep the bonus active, while Paralysis provides safe opening windows, albeit with less uptime on the damage boost. With the massive affinity from Foray, skills like Critical Boost become exceptionally valuable to multiply critical hit damage.

For hunters facing the more frequent enrages of High Rank monsters, a build centered on Agitator is devastatingly effective. Combining the G. Ebony Odogaron and Blangonga sets creates a powerhouse of conditional damage. Using pieces like the G. Ebony Helm (beta), Blango Mail (beta), G. Ebony Braces (alpha), and Blango Coil (beta) activates both the Burst Boost and War Cry set bonuses while providing four ranks in both Burst and Agitator. Agitator grants a large attack and affinity boost when the monster is enraged—a common state in challenging hunts. The final piece offers flexibility: G. Rathalos Greaves (beta) add Weakness Exploit for targeting wounded parts, while Blango Greaves maximize Agitator to rank five. This build excels in early to mid High Rank, where controlling the fight's tempo during enrage phases is key.
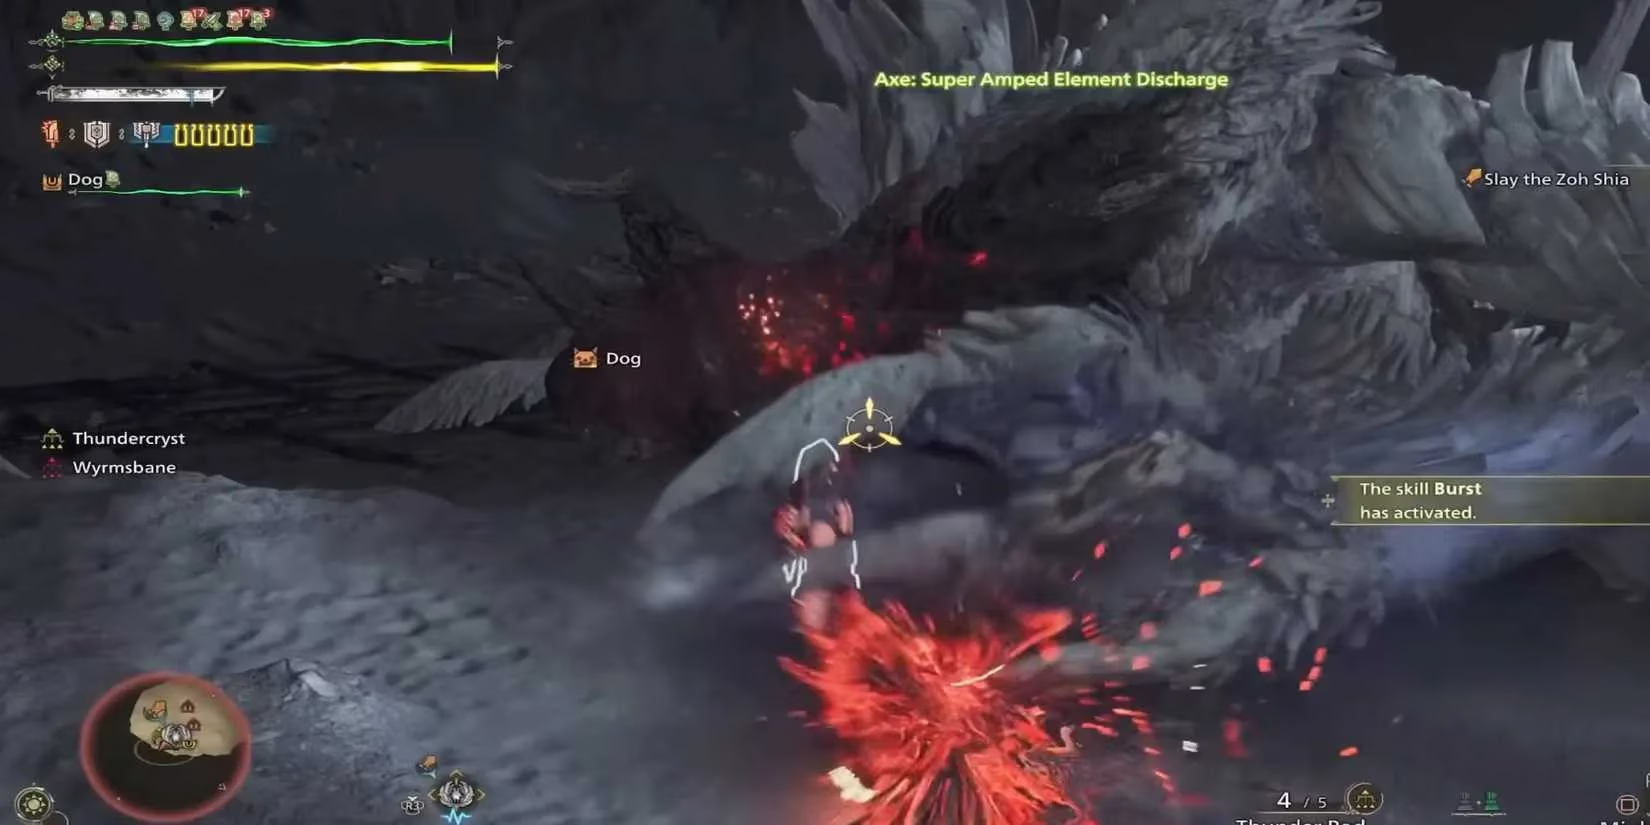
The true endgame for Charge Blade users in 2026 revolves around mastering the Frenzy virus mechanic. A top-tier late-game build synergizes the powers of Gore Magala and Jin Dahaad. The core consists of the Dahaad Shardhelm (beta), Arkvulcan Mail (beta), Dahaad Shardbraces (alpha), Gore Coil (beta), and Gore Greaves (beta). This activates two powerful set bonuses: Black Eclipse from Gore Magala and Binding Counter from Jin Dahaad. Black Eclipse, when combined with the Antivirus skill, allows hunters to overcome the Frenzy virus for a massive temporal damage boost. Binding Counter provides extra damage following a power clash, perfectly aligning with the Charge Blade's defensive-offensive playstyle. This set also includes three ranks of Agitator. With numerous decoration slots available, hunters can customize it heavily, adding Critical Boost, Offensive Guard, or more Weakness Exploit to create a near-perfect offensive machine.
For endgame hunts where survival is as important as damage, a masterful blend of recovery and offense exists. This set uses the Numinous Crown (beta) and Shroud (beta) from Zoh Shia, paired with G. Arkveld Vambraces (beta), Gore Coil (beta), and Gore Greaves (beta). It maintains the essential Black Eclipse strategy while adding Super Recovery and Ward of Wyveria. Super Recovery is arguably the best healing skill in the game, regenerating health even past the red portion of the health bar, and is enhanced by ranks in Recovery Speed. Ward of Wyveria reduces incoming elemental and unique damage for the whole hunting party. Despite its defensive focus, the ample decoration slots allow hunters to stack Agitator and Weakness Exploit to rank five simultaneously, ensuring they remain a formidable threat. This build exemplifies the pinnacle of Charge Blade play in Monster Hunter Wilds: nearly unkillable sustain paired with relentless, optimized damage output.