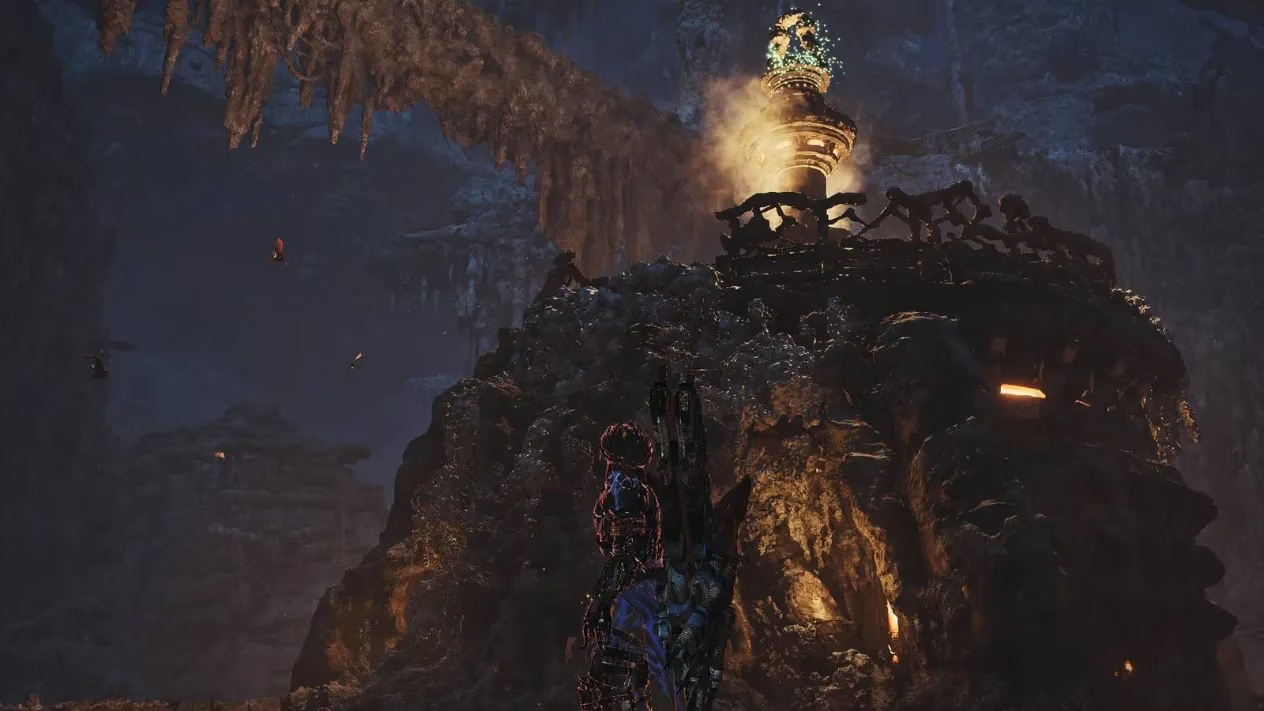
I remember the first time I stumbled into the Ruins of Wyveria in Monster Hunter Wilds. The crumbling architecture and eerie atmosphere were captivating, but my hunter's mind was focused on one thing: the Tough Guardian Bone. This elusive crafting material had been a thorn in my side for hours, and I knew it was the key to unlocking stronger gear for the endgame. After plenty of trial and error, I finally nailed down a reliable farming routine—and I'm sharing it here so you don't have to wander aimlessly like I did.
Where I First Found Tough Guardian Bone
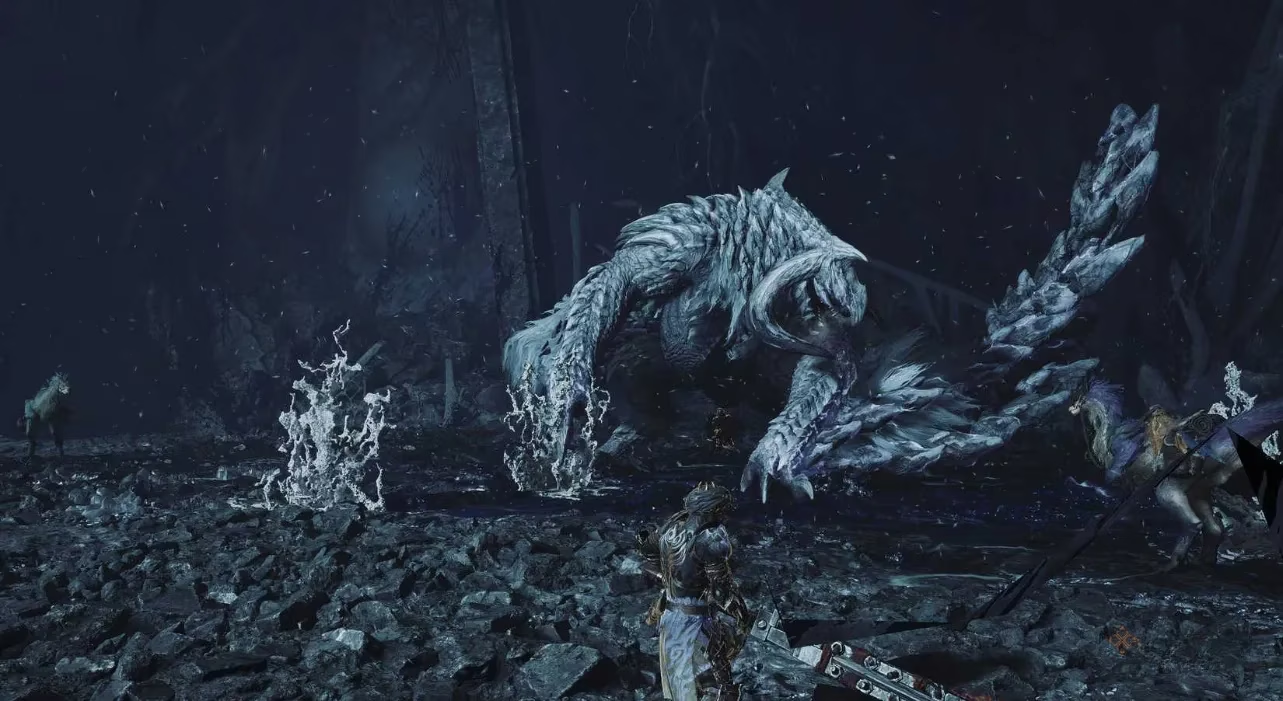
The Tough Guardian Bone starts appearing once you reach the Ruins of Wyveria in Chapter 3 of the main story. That's when I first encountered Zoh Shia and Guardian Arkveld. Both are formidable foes, but they're also your first real shot at this material. I faced Guardian Arkveld at least three times during my playthrough: twice in Chapter 3—during the "Repel the Guardian Arkveld" mission and again at the midway point (3-4) in "The Pale Dream of a Lone Shadow"—and a third time in the endgame during the Chapter 6 mission "Awaking from a Dream." That final fight was noticeably tougher, so I made sure my armor was fully upgraded before diving in.
My Go-To Farming Methods
Fighting giant monsters repeatedly can be exhausting, so I quickly switched to two much easier farming routes: Bonepiles and Guardian Seikrets. These methods saved me hours and let me stockpile bones without the stress of a drawn-out hunt.
| Source | Location | Notes |
|---|---|---|
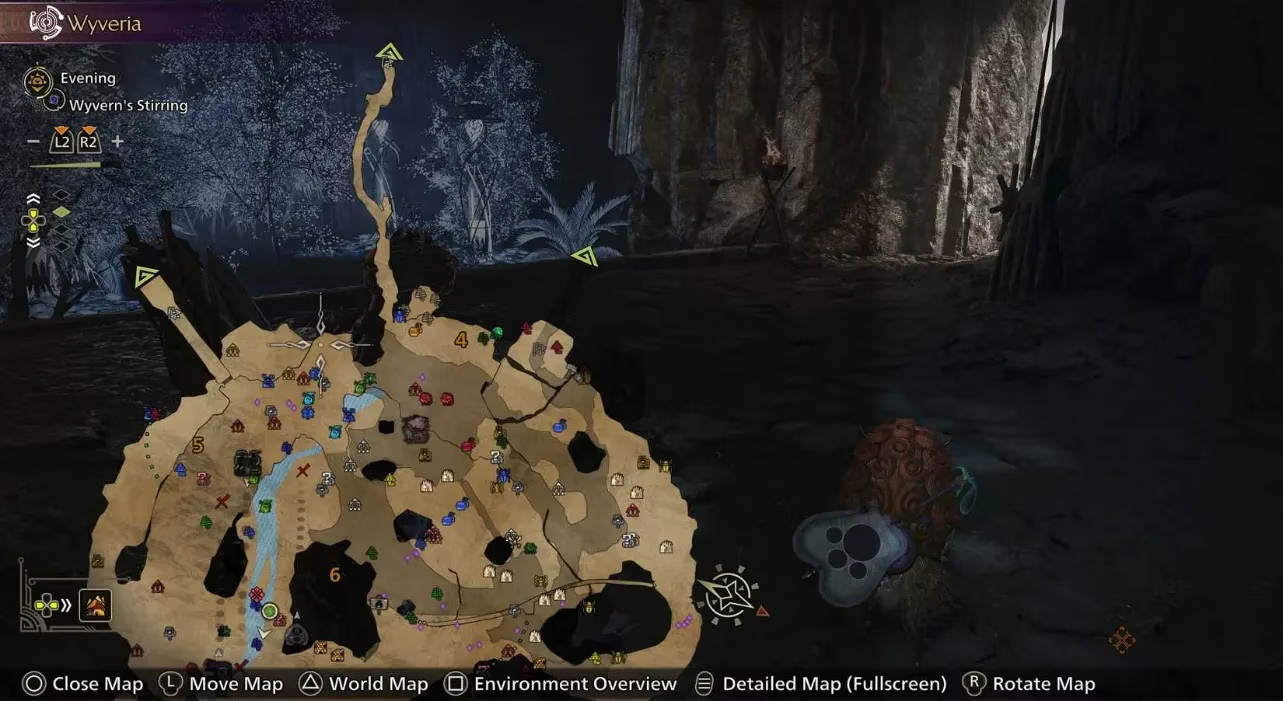
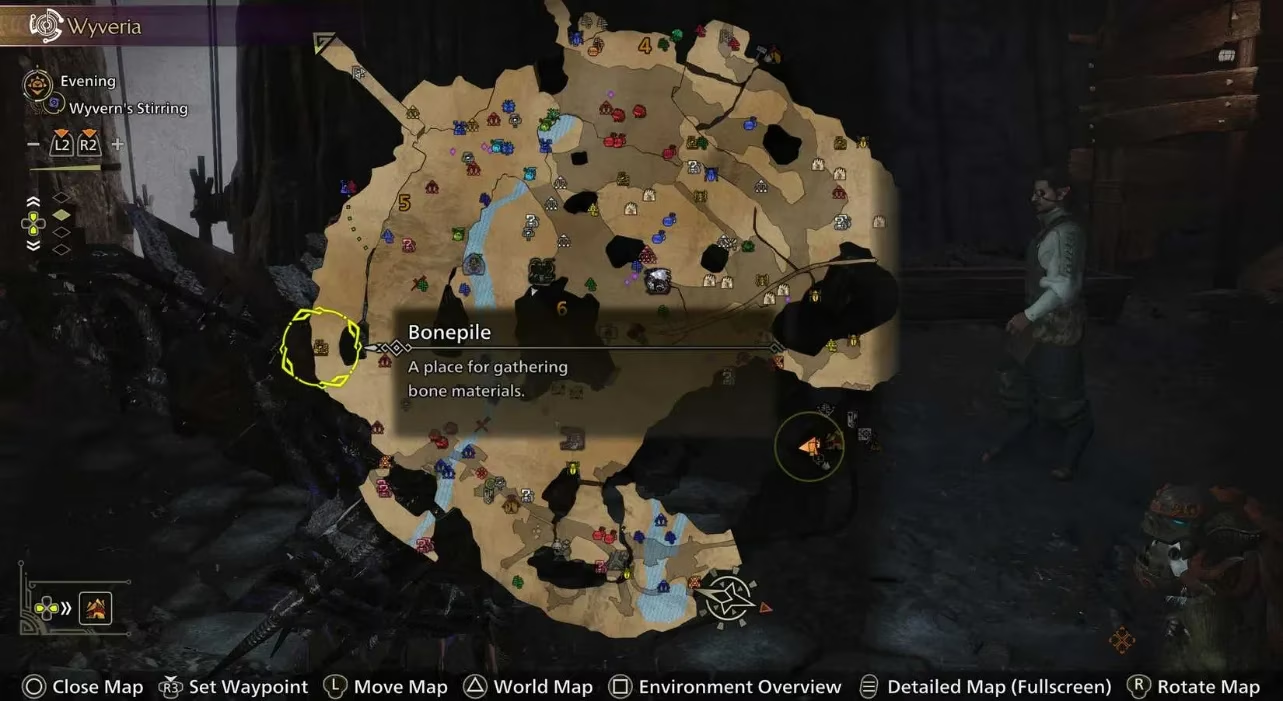
| Bonepiles | Ruins of Wyveria, especially Areas 4 and 5 (second level) | High-quality resources, can set waypoints from map |
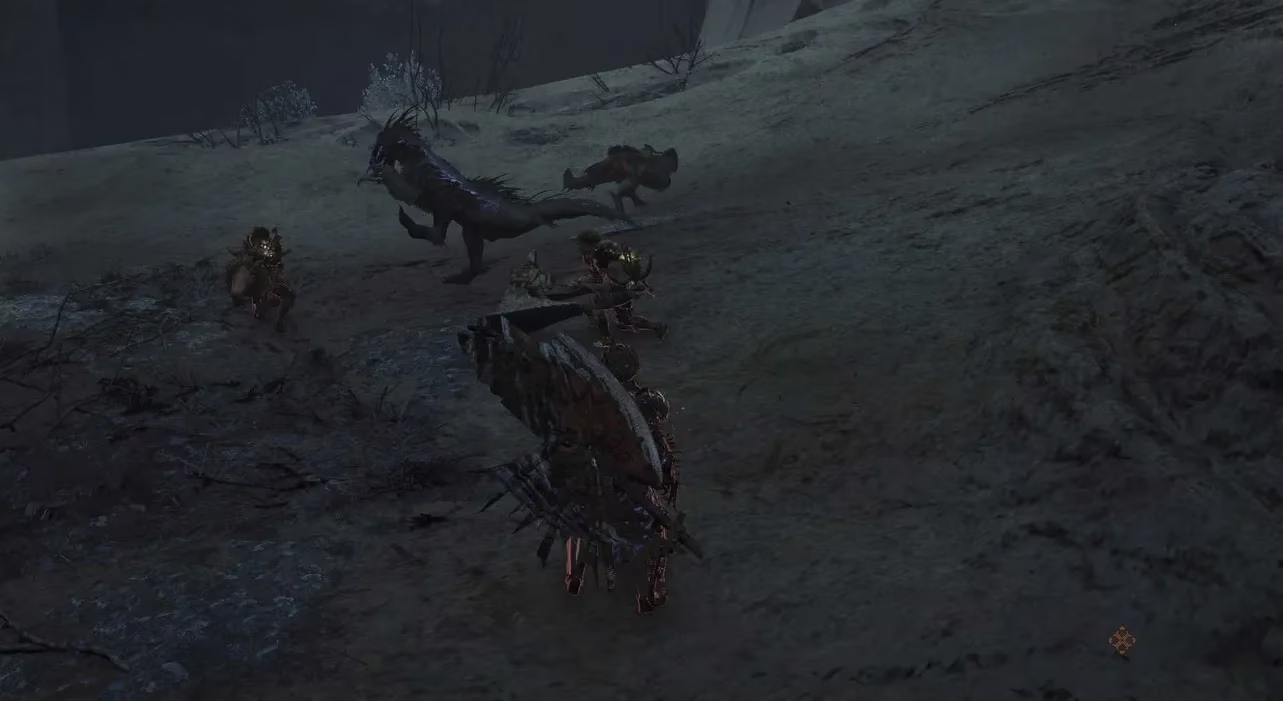
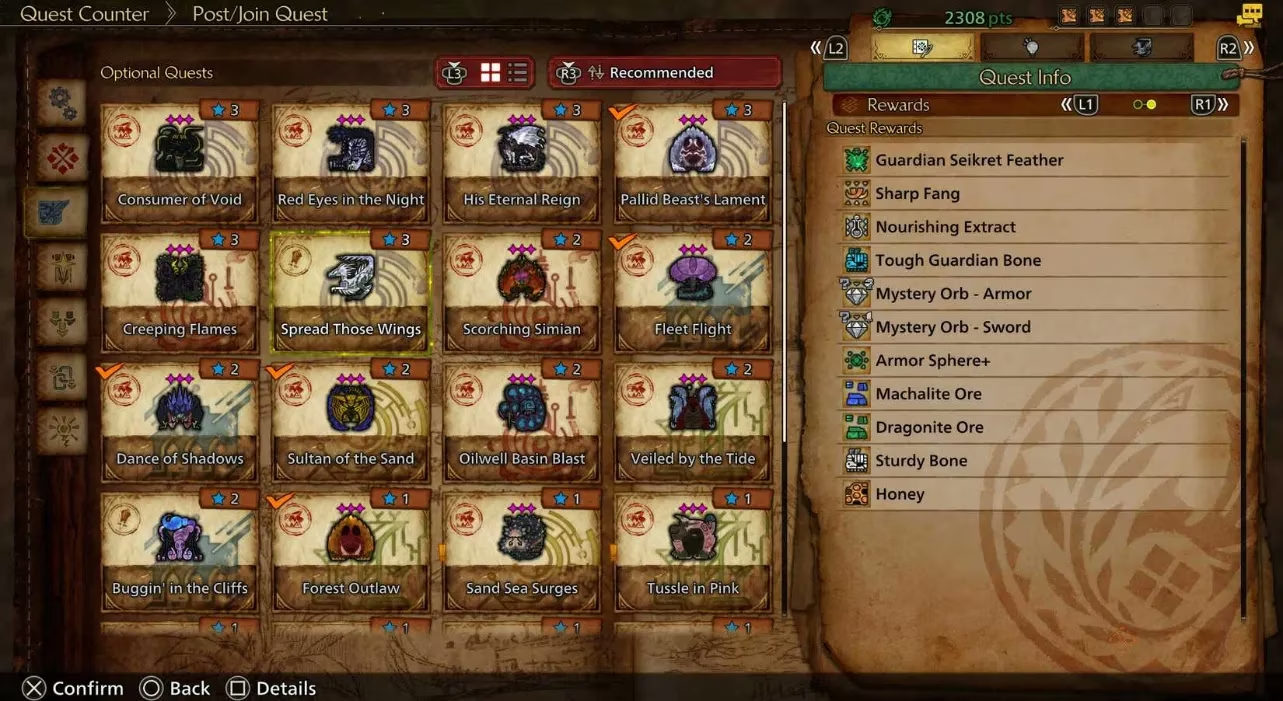
| Guardian Seikrets | Ruins of Wyveria, Chapter 3 onward | Small monsters, often in packs, optional objective at Alma's Quest Counter |
Bonepiles: My Favorite Shortcut
Bonepiles are scattered throughout the Ruins of Wyveria, and they're usually packed with high-quality resources. I found that the drop rate for Tough Guardian Bone seemed higher in Areas 4 and 5, which are located on the second level of the ruins. Instead of running around blindly, I opened my map and looked for a snapshot view of all nearby Bonepiles. Hovering over one and setting a waypoint made the grind almost relaxing.
Guardian Seikrets: Small but Mighty
When I wanted a change of pace, I hunted Guardian Seikrets. These smaller creatures show up in Chapter 3 and are much easier to take down than Arkveld. Their optional objective should already be available at Alma's Quest Counter—I didn't even need to slay one first for it to unlock. I checked the Quest info panel to confirm the rewards, and sure enough, Tough Guardian Bone was listed. Since Guardian Seikrets often travel in packs, I usually found a group of them, which boosted my chances of getting at least one drop. If the bones didn't drop on my first attempt, I just kept fighting them—persistence pays off.
A Few Extra Tips From My Experience
-
🔍 Always check your map for Bonepiles before wandering—it's a huge time-saver.
-
⚔️ Don't ignore Guardian Seikrets; their packs make farming surprisingly efficient.
-
🛡️ If you're tackling Guardian Arkveld for the third time, gear up properly—that endgame version hits hard.
-
📋 Use Alma's Quest Counter to verify drop rates and rewards before you commit to a hunt.
Now, whenever I need Tough Guardian Bone, I rotate between Bonepile runs and Seikret hunts. It's a rhythm that works, and it's helped me build some of my favorite endgame sets. If you're still struggling to find this material, give these methods a try—they turned a frustrating grind into one of my favorite farming loops in Monster Hunter Wilds.